
4 Jaw Dropping House Painting Tips For Your Home
Giving your home a fresh new look can seem scary. But, with the right painting techniques, you can get amazing results.
Whether you want a full makeover or just a quick update, picking the right colors is key. It makes your home look better from the outside.
With these four amazing house painting tips, you can change your home’s look. It will surely catch people’s eyes.
Key Takeaways
- Prepare your walls before painting for a smooth finish.
- Choose the right color palette to enhance your home’s appeal.
- Use the right painting techniques to achieve professional results.
- Consider the finish and sheen of the paint for durability.
- Don’t forget to paint the trim and ceilings for a cohesive look.
Why Most Homeowners Get House Painting Wrong
Many homeowners struggle with house painting because they don’t prepare enough. They try their best but end up with a finish that doesn’t last or look right. This is often because they misunderstand the painting process.
Common Misconceptions About House Painting
One big mistake is thinking house painting is easy and doesn’t need much prep. Professional painting advice stresses the need for good prep, like cleaning, sanding, and priming. Without these steps, the finish won’t be good.
Another mistake is focusing too much on the paint quality. While good paint is important, preparing the surface right is just as key. If you don’t, the paint won’t stick well, causing it to peel and flake.
The Real Cost of Cutting Corners
Trying to save money by cutting corners in painting can end up costing more. For example, not prepping the surface right might mean you need more paint or even a whole new paint job. Experts say, “the cost of re-painting can be up to three times the initial cost of a properly done job.”
Spending time on prep work for painting a house can save money and ensure a great finish. Whether you’re doing it yourself or hiring pros, knowing the value of proper prep is essential for beautiful results.
Preparing Like a Pro: The Foundation of Stunning Results
The secret to a stunning paint finish is not just the paint. It’s all about the prep work before it. Professionals know that prep work for painting a house is key for top-notch results. Whether you’re painting inside or outside, how well you prepare will show in the end.

Surface Preparation Secrets Professionals Don’t Share
Getting your home ready for painting starts with surface prep. It’s more than just cleaning walls. You need to fix holes, sand rough spots, and remove old paint or wallpaper. With the right tools and techniques, you can get professional results.
- Inspect surfaces for damage or imperfections
- Use appropriate fillers for holes and cracks
- Sand surfaces to create a smooth finish
- Clean surfaces thoroughly to remove dirt and grease
Essential Prep Work for Different Surfaces
Each surface needs its own prep. Painting drywall is different from painting wood or masonry. Knowing what each surface needs is essential for a great paint job.
For drywall, fill holes and sand it smooth. Wood needs sanding to remove old finishes and cleaning to remove dust and oils. Masonry needs a good clean and maybe a special primer for paint to stick well.
By following these professional painting advice tips, you can get a beautiful, lasting paint job. Tailor your prep work to the surfaces you’re painting for the best results.
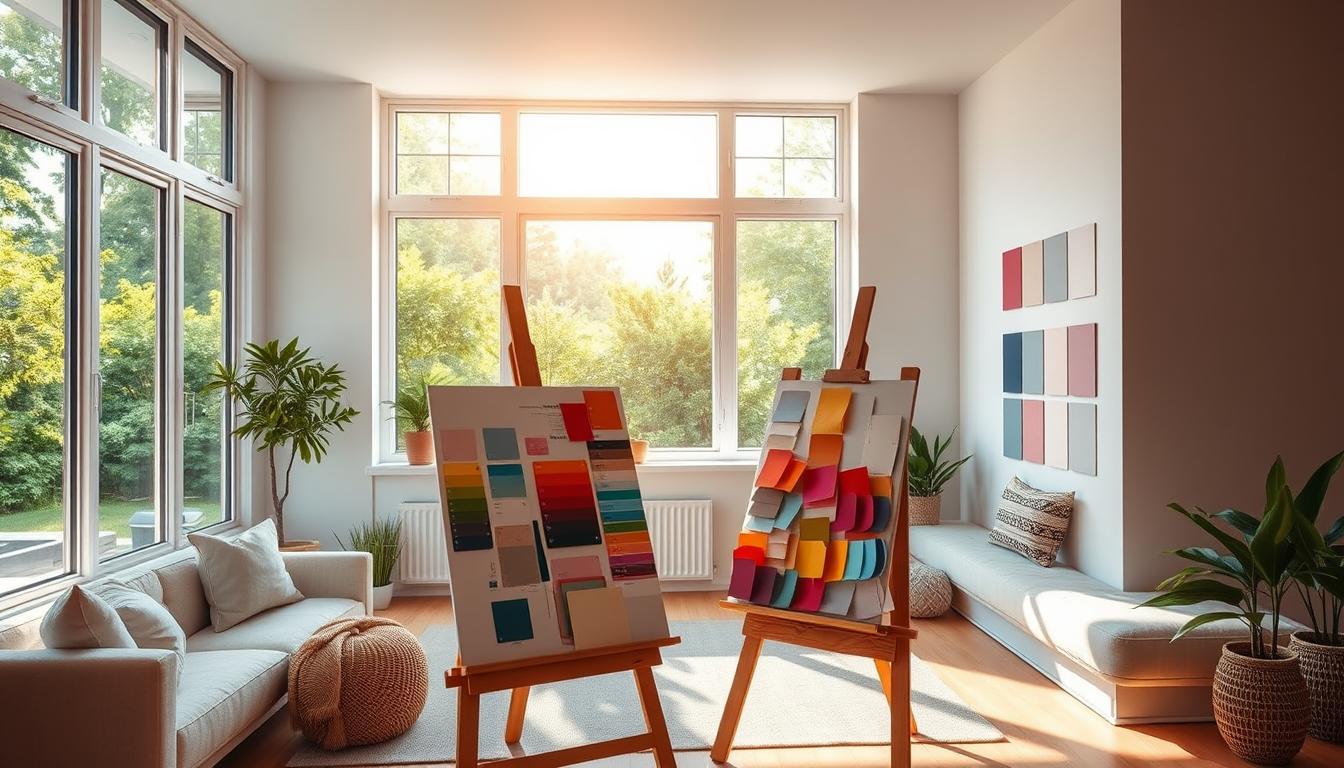
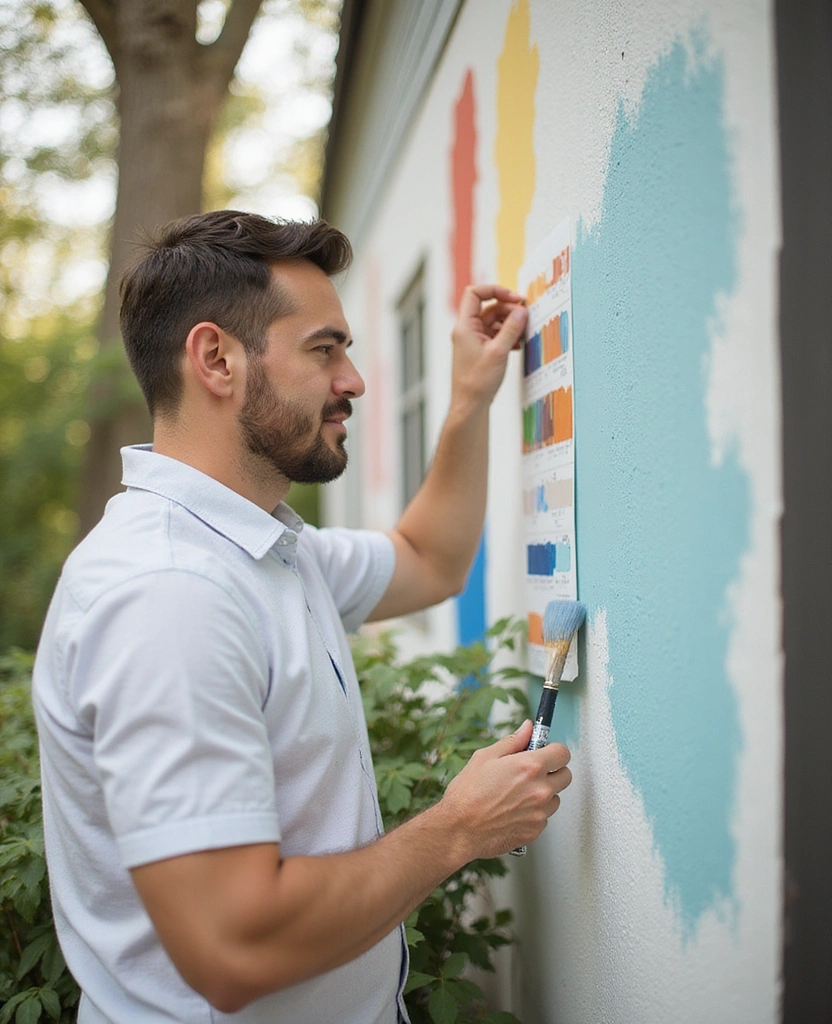
Jaw Dropping Tip #1: Color Selection Strategies That Transform Spaces
Changing your home with paint starts with picking the right colors. The colors you pick can really change how your space feels.

The Psychology Behind Color Choices
Colors deeply affect our feelings and views. Cool colors like blue and green calm us down. Warm colors like red and orange make us feel more alive. Knowing this helps pick the best colors for your home.
Think about what each room is for. Bedrooms should be calm, so soft blues or greens are good. But living rooms or kitchens might need warmer colors to make people want to hang out.
“The right color can make a room feel larger, cozier, or even more energizing. It’s not just about picking a color you like; it’s about creating the right atmosphere for the space.”
Testing Methods That Prevent Expensive Mistakes
Before you decide on a color, test it first. Here are ways to avoid costly errors:
- Paint samples on different walls to see how the color looks at various times of day.
- Use online color picker tools or apps to visualize the color in your space.
- Consider the lighting in your home; natural and artificial lighting can significantly affect how a color appears.
| Color | Effect | Best Used In |
|---|---|---|
| Soft Blue | Calming | Bedrooms, Bathrooms |
| Warm Beige | Neutral, Welcoming | Living Rooms, Kitchens |
| Deep Green | Refreshing, Calming | Bedrooms, Home Offices |
Creating Dramatic Effects With Strategic Color Placement
Using colors smartly can really improve your home’s look. For example, a bold color on one wall can draw attention. Lighter colors on ceilings can make them seem taller.
Remember the 60-30-10 rule: 60% of the room should be a main color, 30% a secondary color, and 10% an accent color. This mix brings balance and interest.
By understanding color psychology, testing your choices, and using smart color placement, you can make your home beautiful and welcoming.
Jaw Dropping Tip #2: Professional Painting Techniques Anyone Can Master
Learning professional painting techniques can make your home look amazing. It shows off your personal style. You don’t need years of experience to get a pro finish. We’ll show you easy techniques to get stunning results.
The “W” Method for Flawless Wall Coverage
The “W” method is simple yet effective. Divide your wall into sections and paint in a “W” pattern. This method prevents streaks and gives a smooth finish.
Cutting-In Techniques for Perfect Edges
Cutting-in is key for a pro look. Use a high-quality angled brush and work in small sections. Paint at a 45-degree angle, feathering the edges for a seamless blend.
Specialty Finishes That Make Guests Say “Wow”
Specialty finishes can make your walls stand out. Try ragging, sponging, or textured rollers for interesting effects. Experiment to find the perfect finish for your style.
| Technique | Description | Best For |
|---|---|---|
| The “W” Method | Painting in a “W” pattern for even coverage | Large, flat walls |
| Cutting-In | Using an angled brush for precise edges | Trim, corners, and edges |
| Specialty Finishes | Techniques like ragging or sponging for unique effects | Accent walls or feature areas |
Mastering these techniques will boost your confidence in painting. Whether you’re experienced or new, these tips will help you achieve a beautiful finish. Your home will look like a pro painted it.
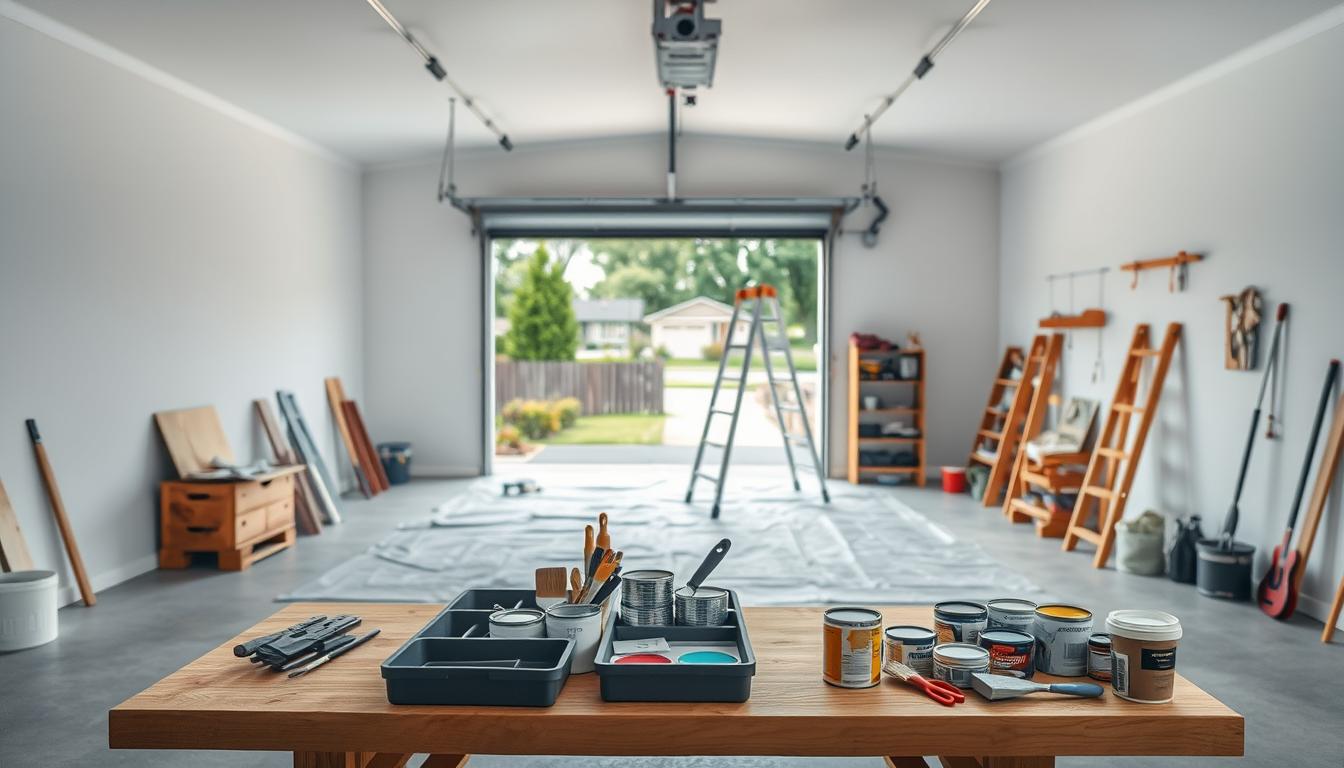
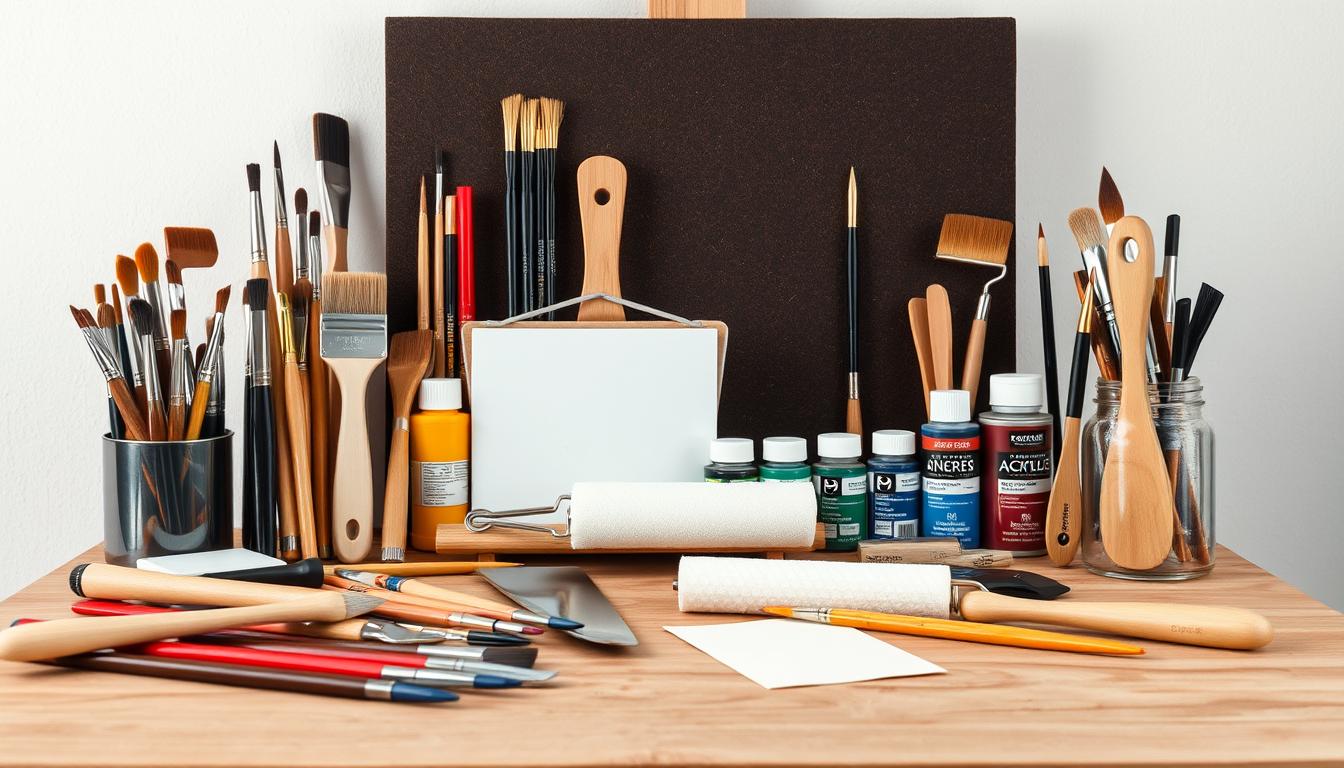
Essential Tools That Revolutionize Your Painting Experience
Make your painting better with the tools pros use. The right tools can help you get pro-looking results on your DIY projects.
Professional-Grade Tools Worth the Investment
Getting top-notch tools is key for a perfect paint job. High-quality brushes and rollers are must-haves for smooth paint. Choose synthetic bristles for latex and natural for oil-based paints.

Here are some tools you should have:
| Tool | Purpose | Benefit |
|---|---|---|
| High-quality paintbrushes | Cutting in and detailing | Precision and control |
| Extension poles | Reaching high ceilings | Safety and efficiency |
| Paint rollers with extension handles | Covering large areas | Speed and even coverage |
Innovative Painting Gadgets That Save Time and Frustration
Try new gadgets to make painting easier. A paint sprayer is great for big, smooth areas. It makes finishing fast and even.
Other gadgets include:
- Paint edgers for precise edge work
- Paint trays with grid inserts for easy roller loading
- Drop cloths with grip undersides to prevent slipping
Proper Tool Care for Optimal Performance
Keep your tools in top shape for future projects. Clean brushes and rollers well after each use. Store them dry.
Think about the tool when picking a paint finish. Some finishes need specific tools.

Jaw Dropping Tip #3: Interior Painting Ideas That Transform Rooms
Learn how to use interior painting to make your home stunning. Painting can change the look and feel of your rooms. It makes them more welcoming and attractive.
Creating Optical Illusions With Paint
One great idea is to create optical illusions with paint. The right colors and techniques can make rooms seem bigger, ceilings higher, and spaces more balanced.
- Use lighter colors on walls to make a room feel more spacious.
- Apply darker shades on ceilings to create the illusion of lower, cozier spaces.
- Utilize vertical stripes to make ceilings appear higher.
Statement Ceilings: The Fifth Wall Revolution
Statement ceilings are a bold idea that’s becoming popular. Painting your ceiling a different color from the walls adds depth and character to a room.
Tips for creating statement ceilings:
- Choose a color that complements the walls but adds a pop of contrast.
- Consider a glossy finish to add extra depth.
- Use this technique in rooms with high ceilings for maximum impact.
Choosing the Right Paint Finish for Each Space
Choosing the right paint finish is key for the look and durability you want. Different rooms need different finishes, so pick wisely.
- Matte finish: Ideal for low-traffic areas and ceilings.
- Eggshell or satin finish: Suitable for living rooms and bedrooms.
- High-gloss finish: Perfect for trim work and high-traffic areas.
By using these painting ideas, you can transform your home. Remember to think about color and finish for each room. This will help you get professional-looking results.
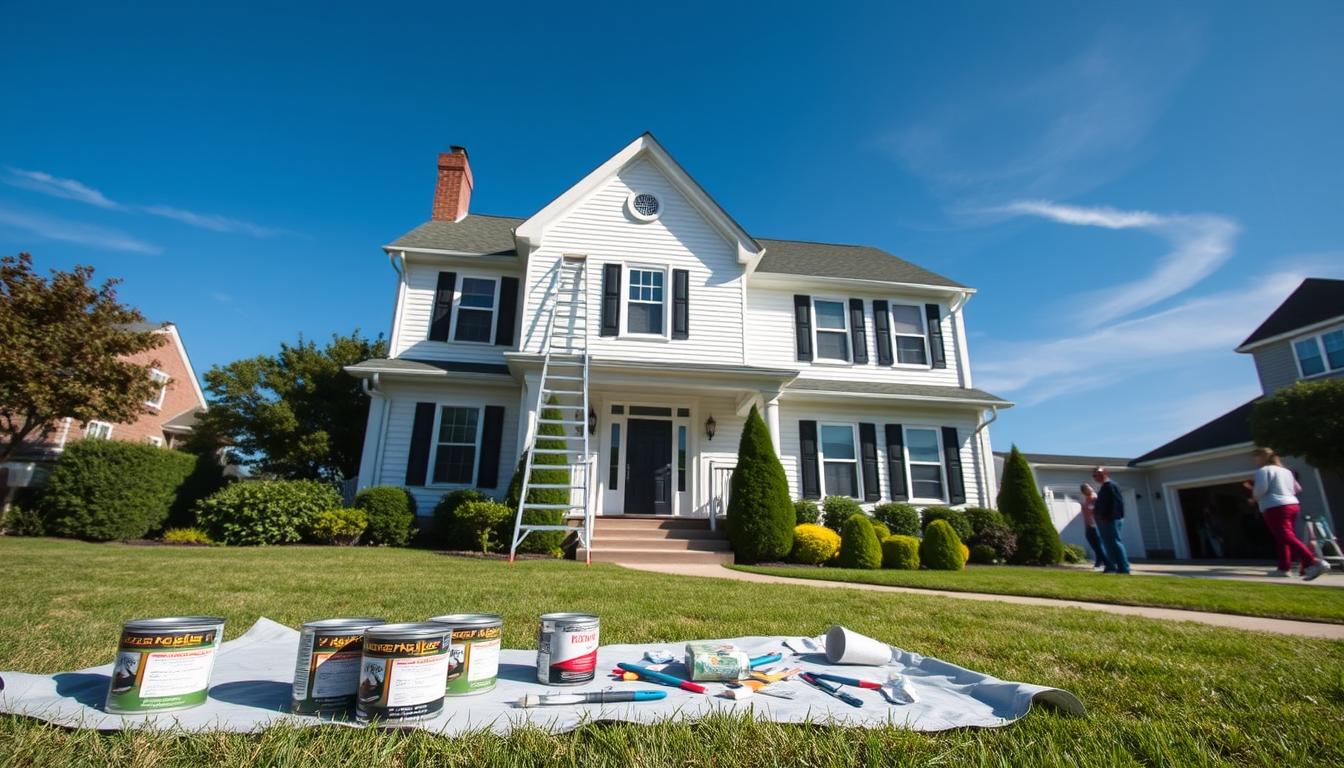
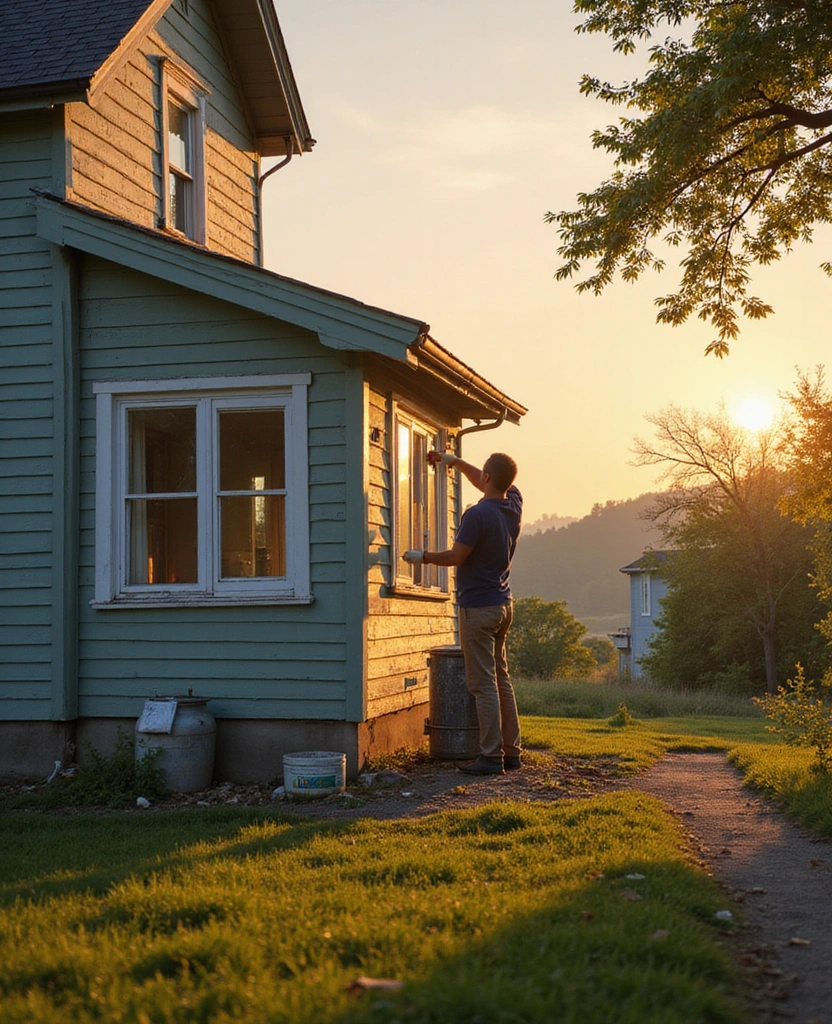
Jaw Dropping Tip #4: Exterior Painting Tips for Curb Appeal That Stuns
Exterior painting is more than just slapping on a new coat. It’s about creating stunning curb appeal that shows off your home’s personality. Your home’s exterior is the first thing people notice, making it key to get it right. A well-done exterior paint job can greatly boost your home’s value and make a lasting impression.
Weather-Resistant Application Techniques
To make sure your exterior paint job lasts, use weather-resistant techniques. Start by cleaning and sanding the surface. Then, use a high-quality primer and paint in the right weather. Always choose exterior paint made for your local climate, whether it’s for extreme heat, cold, or moisture.
Creating Architectural Interest With Color Blocking
Color blocking adds architectural interest to your home’s exterior. Use contrasting colors on trim, doors, and shutters for a visually appealing look. Think about your home’s style and era when picking colors to match its original design.
Front Door Transformations That Make a Statement
Your front door is a key part of your home’s exterior. Painting it a bold, contrasting color can make a big statement. It’s a simple yet effective way to boost curb appeal. Pick a color that complements your home but also stands out. A brightly colored front door can become a welcoming feature that invites visitors to your home.
By following these exterior painting tips, you’ll not only improve your home’s curb appeal but also protect it from the elements. Whether you’re getting ready to sell your home or just want a more beautiful exterior, these tips will help you achieve a stunning result.
DIY Painting Projects That Deliver Professional Results
With the right techniques and practice, you can do DIY painting projects like a pro. You don’t always need a professional painter to get great results.
Weekend Projects With Maximum Impact
DIY painting projects are perfect for a weekend. Try painting one accent wall in a bold color to highlight a room. Or, update your home’s look with fresh paint on your front door, shutters, or trim.
Painting your ceiling a lighter color than the walls can make rooms seem bigger. You can also paint a bold pattern or color on your ceiling for a statement look.
When to DIY and When to Hire Professionals
DIY painting can save money and be fun. But, for big or complex jobs, like painting a multi-story home’s exterior, it’s better to hire a pro.
If you’re not sure about paint types or surface prep, get professional advice. They can help choose the right paint and ensure the job is done right.
Maintaining Your Painted Surfaces for Years of Beauty
To keep your paint looking great, regular cleaning is essential. Clean your walls and surfaces often to avoid dirt and grime buildup.
Fix any paint scratches or chips quickly to prevent them from getting worse. By following these tips, your painted home will stay beautiful for years.
Conclusion: Transforming Your Home With Confidence
Now you have four amazing house painting tips to give your home a new look. These house painting tips for your home will help you get professional results. Your home will look stunning and make a lasting impression.
Remember, preparing the surface, choosing the right colors, and learning painting techniques are key. Follow this professional painting advice to confidently transform your home.
Start your house painting project today for a fresh new look. With these tips, you’ll create a beautiful and welcoming home. Enjoy it for years to come.
FAQ
What are the most common mistakes homeowners make when painting their house?
Many homeowners forget to prepare the surface properly. They also pick the wrong paint finish and don’t test the color first. Cleaning, sanding, and filling holes are key for a smooth finish.
How do I choose the right color for my house painting project?
Choosing the right color means thinking about color psychology and testing it with a swatch. Consider the room’s natural light, furniture, and décor too. This helps you achieve the look you want.
What are some professional painting techniques I can use for a flawless finish?
Use the “W” method for wall coverage and cut-in with a high-quality brush. A roller with an extension pole also works well. Try specialty finishes like Ombre or texture for something unique.
What are the essential tools I need for a house painting project?
You’ll need good brushes, rollers, and paint trays. Don’t forget drop cloths, sandpaper, and a paint sprayer (if you want). Professional tools make a big difference.
How can I maintain my painted surfaces for years to come?
Keep your paint clean with mild soap and water. Touch up scratches or chips. Applying a clear coat of polyurethane helps protect it. Regular care extends your paint’s life.
When should I hire a professional for my house painting project?
Hire a pro for big or complex projects, if heights scare you, or for a top-notch finish. They have the skills, tools, and experience for quality results.
What are some DIY painting projects that can deliver professional results?
DIY a single room, update trim and molding, or paint a statement ceiling. Start small to build your skills and confidence.
How can I create a cohesive look with my house painting project?
Choose a color scheme that ties everything together. Think about your home’s style and era. Use color blocking or other techniques for visual interest.